
How to Step by Step Remove Adware Generic6.bqyn and Stop the Ad Pop-ups
What’s Generic6.bqyn?
Generic6.bqyn is an ad program that is similar with Generic6 which appeared months ago and haunted Internet users quite a lot. Like Generic6, Generic6.bqyn also sends out bunch of advertisements on your on your webpages and causes other browser and computer problems.
You can’t cease the ads completely by stopping its process from Task Manager. Because as long as the files of Generic6.bqyn are still in the system and browser, the ads will return every time you restart the computer.
And not just the ads themselves a problem, you also have to deal with slower running of system and programs as well as browser that crashes all the time due to the ads.
When you click on the ads from Generic6.bqyn, it jumps out other several new taps that could be a real distraction.
And to avoid getting Generic6.bqyn into your computer, stay away from websites that you are not familiar. Besides never trust or download any free programs unless you have it tested and find no potentially malicious software attaching on it or being compromised.
How to remove Generic6.bqyn?
There are two guides below for your reference on how to eliminate Generic6.bqyn: Solution 1 and Solution 2. Both of them can help with your problem and fix ads displayed by Generic6.bqyn. However, if you want to save time you may spend on figuring out the terms and steps Solution 2, then go for the easier one – Solution 1.
Solution 1: Manual Removal Instructions
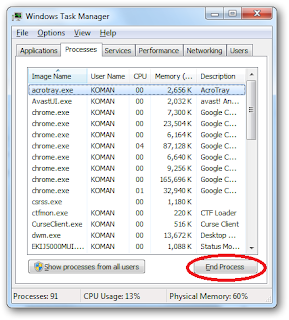
Step 1. End related programs from Task Manger.
Press “Ctrl + Shift + Esc” at the same time
to open Task Manager, select Processed, find Generic6.bqyn extensions, then click
End process.
Step 2. Delete Generic6.bqyn extension from
Control Panel.
Click Start menu, choose Control Panel and select Uninstall a program. Find Generic6.bqyn extension and remove it. 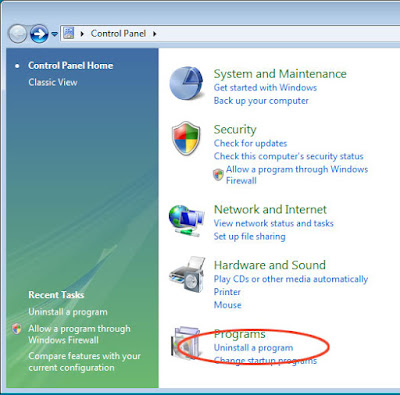
Step 3. Remove Generic6.bqyn extensions from
browsers.
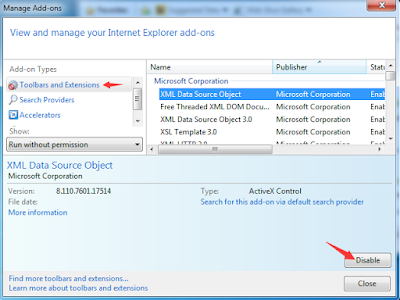
Internet Explore:
1. Start IE and select Tools on the right
corner, choose Manage add-ons.
2. Select Toolbars and Extensions then find
and remove Generic6.bqyn.
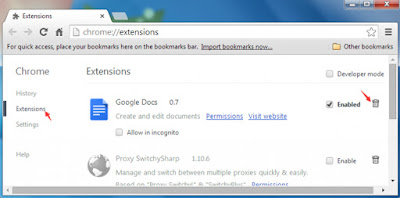
From Google Chrome:
1. Start Google Chrome and select Customize
and control Google Chrome on the right corner, choose More tools.
2. Select Extensions, find Generic6.bqyn extensions and click the trash bin icon to delete it.
2. Select Extensions, find Generic6.bqyn extensions and click the trash bin icon to delete it.
From Mozilla Firefox:
1. Start Mozilla Firefox and choose Tools also
at the right corner, click Manage add-ons and then Extensions.
2. Disable related extension.
2. Disable related extension.

Step 4. Clear browser history

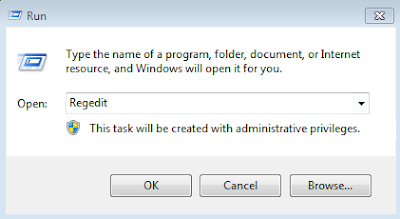
Step 5. Delete possibly ruined Registry entry. ]
1. Windows + R > input “regedit” to open Registry.
From
Internet Explore:
1. Click
Tools then Internet option.
2.
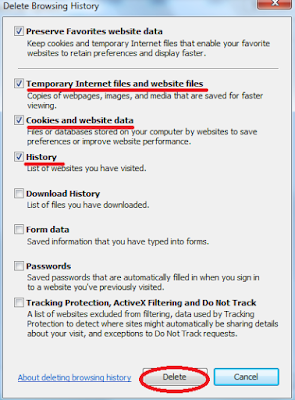
Find General and select Delete.
3. Select “Temporary Internet files and
website files” “Cookies and website date” “History”, then click Delete.
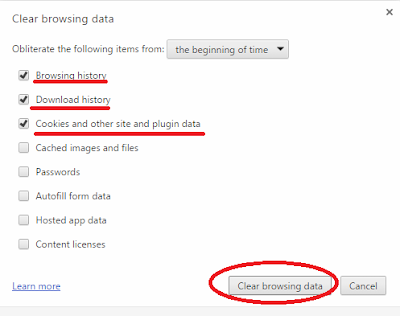
From Google Chrome:
1. Click Customize and control Google
Chrome then More tools.
2. Select “
From Mozilla Firefox:
1. Click Tools, then Option.
2. Find Privacy, and select “Clear recent
history” and “remove individual cookies”. Then click OK.
Step 5. Delete possibly ruined Registry entry. ]
1. Windows + R > input “regedit” to open Registry.
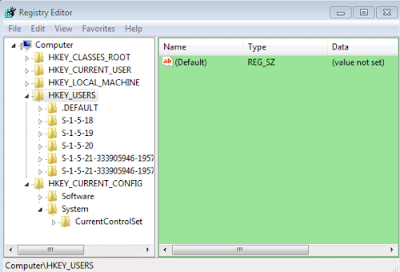
2. Delete the files under the roots below.
HKEY_CURRENT_USER\Software\Microsoft\Windows\CurrentVersion\Run
HKEY_CURRENT_USER\Software\Microsoft\Windows\CurrentVersion\InternetSettings “CertificateRevocation” = 0
HKEY_CURRENT_USER\Software\Microsoft\Windows\CurrentVersion\Policies\System “DisableTaskMgr” = 1
HKEY_LOCAL_MACHINE\SOFTWARE\Microsoft\Windows\CurrentVersion\policies\system “DisableTaskMgr” = 1
Step 6: Download RegCure Pro for better
optimization for your computer.
1: Click below to download RegCure Pro
immediately.

2: Click "Yes", and allow the computer to download RegCure Pro.
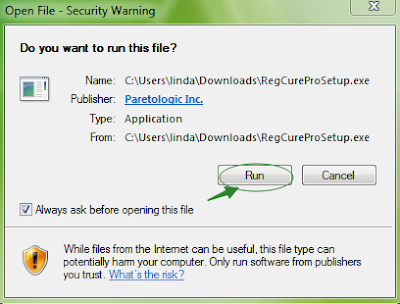
3: After successfully download the installer, double click the icon to run RegCure Pro. Choose “Next” and go on installing.

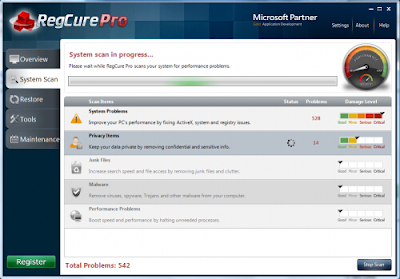
4: Once you finish the installation
process, click “System Scan” to start the scanning process.
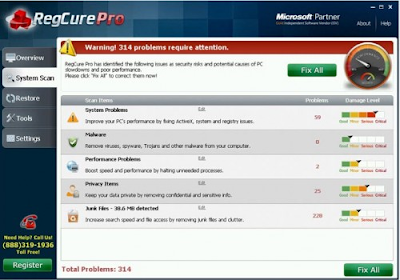
5: After the RegCure Pro done scanning all
the files, click “Fix All” to complete the whole scanning process.
Solution 2: Automatical Removal Instructions
Step 1: Click the icon below to download
SpyHunter.

Step 2: Click “Run” to download SpyHunter
installer.
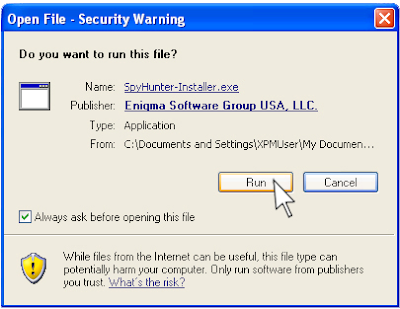
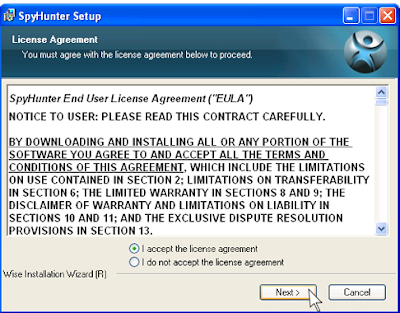
Step 3: After finish downloading it,
start installing SpyHunter. Click “Next ” continue installation.
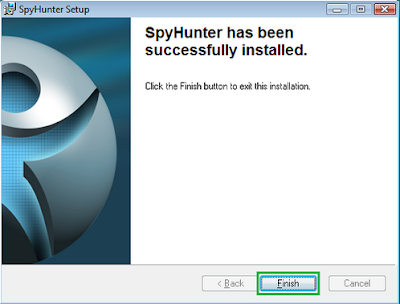
Step 4: Click “Finish” to complete
installation.
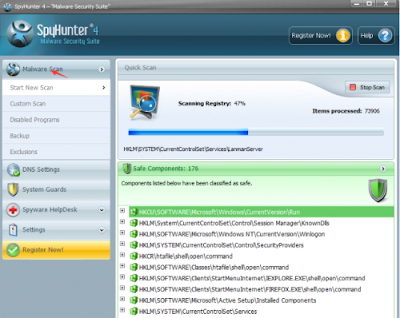
Step 5: Click “Malware Scan”.
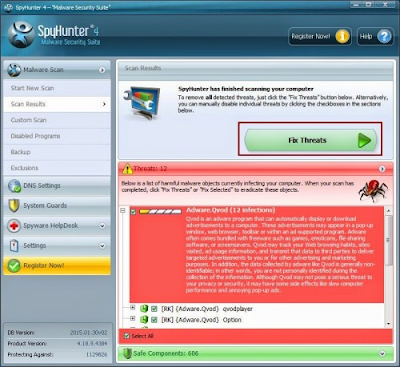
Step 6: Click “Fix Threats”.
In fact, some would think that it is no downside to use free anti-virus to help you kill virus and malware. However, if you are not a computer expert and familiar with computer operation, then using a free anti-virus may cause you even more trouble since you won’t get technical support when you need it urgently and you will still have to look for help from others who use anti-virus the same kind.
No comments:
Post a Comment