How to Get Rid of PriceltDown and Fix Ads Popping out on Chrome, IE, and Mozilla Effectively?
What’s PriceltDown?
PriceltDown is an ad application that
brings computer users bunch of advertisements mainly about online shopping. These
ads pop up on every webpage of yours, without caring whether you have intention
to purchase stuff from the Internet or not. And such promotion for its own
profit is considered illegal and thus makes PriceltDown adware that is needed
to remove from the system the minute you notice its existence.
This adware greatly affects users’ online
surfing quality with all the pop-ups, boxes, banners and full-pages. Like many
other adware, you will recognize the name of such adware with words of “Priceltdown”
at the bottom of all the ads.
PriceltDown is nowhere a good ad software
that will actually do good to your online shopping experience. On the contrary,
for any browser and computer, PriceltDown is rather a bug.
How to remove PriceltDown?
Following are two guides for your reference
on how to eliminate PriceltDown: Solution 1 and Solution 2. Both guides are
capable of fixing your problem with ads by PriceltDown. However, if you want to save some time and have no
interests in figuring out all the steps in Solution 1, you can go with Solution2
which is easy to operate and not all at time-consuming.
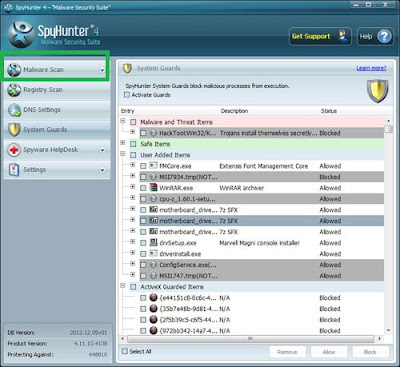
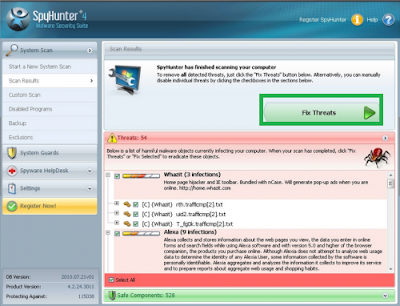
- Solution 1: With SpyHunter Automatically
- Solution 2: With Steps below Manually
Solution 1: With SpyHunter Automatically

Solution 2 -- With Steps below Manually
1. End related programs from Task Manger.
Press “Ctrl + Shift + Esc” at the same time
to open Task Manager, select Processed, find AdsAlert extensions, then click
End process.
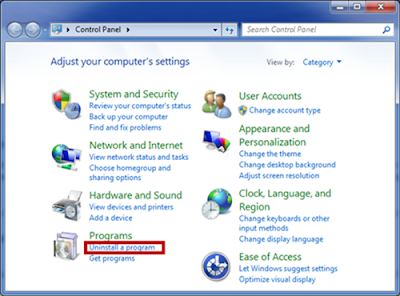
2. Delete Ads by AdsAlert extension from
Control Panel.
Click Start menu, choose Control Panel and select Uninstall a program. Find AdsAlert extension and remove it.
3. Remove AdsAlert extensions from
browsers.
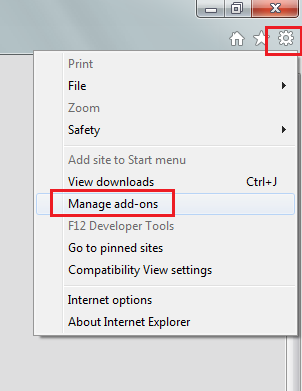
Internet Explore:
1. Start IE and select Tools on the right
corner, choose Manage add-ons.
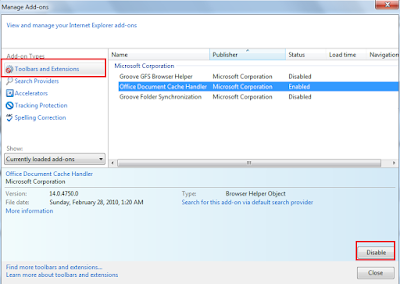
2. Select Toolbars and Extensions then find
and remove AdsAlert.
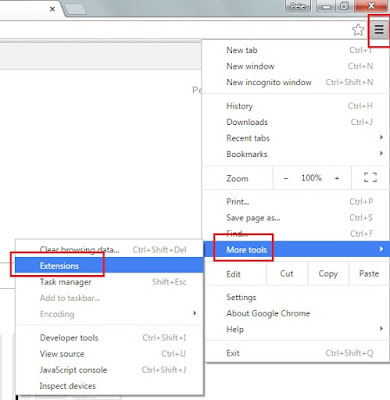
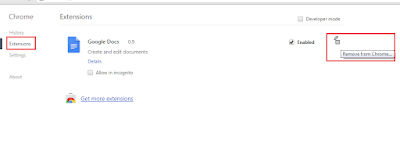
From Google Chrome:
1. Start Google Chrome and select Customize
and control Google Chrome on the right corner, choose More tools.
2. Select Extensions, find AdsAlert extensions and click the trash bin icon to delete it.
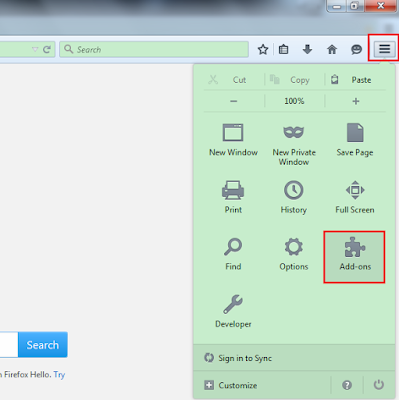
From Mozilla Firefox:
1. Start Mozilla Firefox and choose Tools also
at the right corner, click Manage add-ons and then Extensions.
2. Disable related extension.
4. Clear browser history
5. Restart browsers to take effect.
From
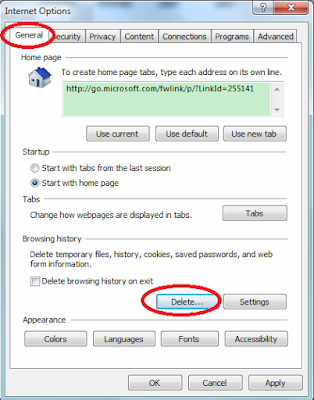
Internet Explore:
1. Click
Tools then Internet option.
2.
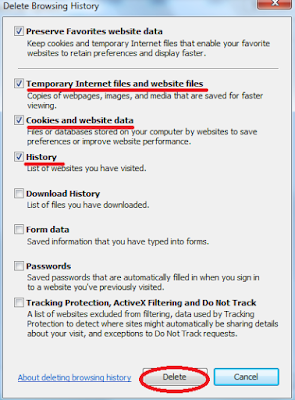
Find General and select Delete.
3. Select “Temporary Internet files and
website files” “Cookies and website date” “History”, then click Delete.
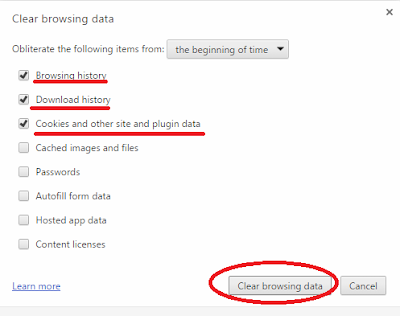
From Google Chrome:
1. Click Customize and control Google
Chrome then More tools.
2. Select “
From Mozilla Firefox:
1. Click Tools, then Option.
2. Find Privacy, and select “Clear recent
history” and “remove individual cookies”. Then click OK.
5. Restart browsers to take effect.
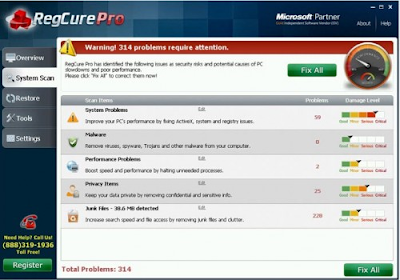
6: Download RegCure Pro for better
optimization for your computer.
1: Click below to download RegCure Pro
immediately.

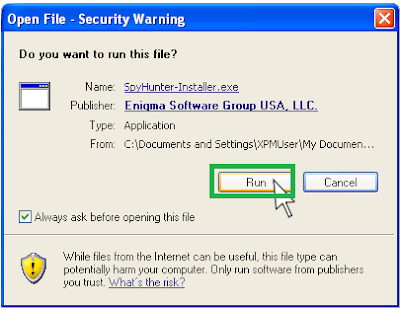
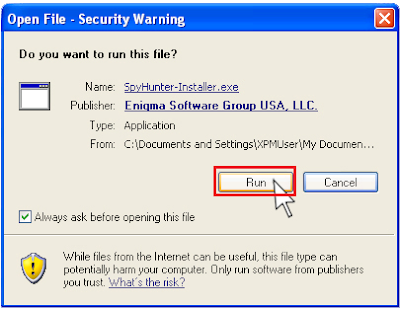
2: Click "Yes", and allow the computer to download RegCure Pro.
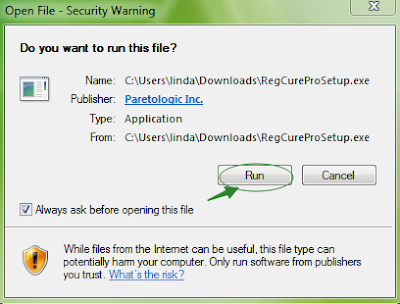
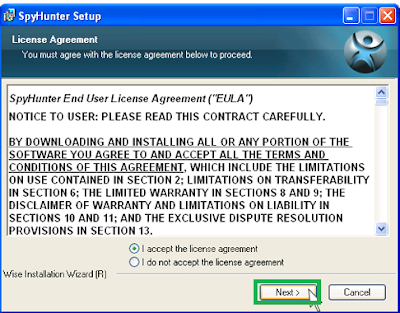
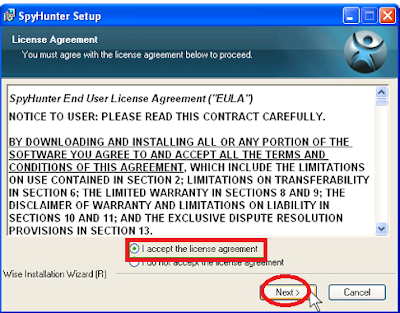
3: After successfully download the installer, double click the icon to run RegCure Pro. Choose “Next” and go on installing.
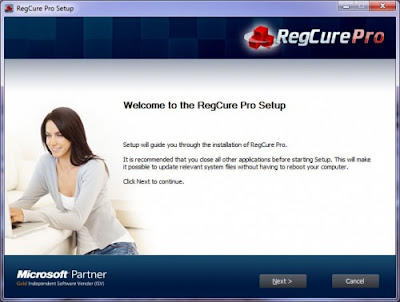
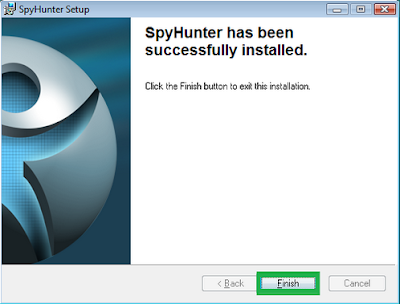
4: Once you finish the installation
process, click “System Scan” to start the scanning process.
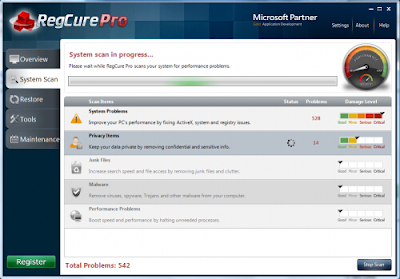
5: After the RegCure Pro done scanning all
the files, click “Fix All” to complete the whole scanning process.