
How to Effectively Step by Step Remove Adware Atomic Savings?
What’s Atomic Savings?
Atomic Savings is an ad program created for
promoting certain products. Actually, there are certain numbers of users who don’t
regard Atomic Savings as a PUP and are voluntarily download it onto computer. In
fact, compared with the problems it brings to the computer, it doesn’t indeed
do you any good, at least no better than encouraging you to spend more money in
purchasing its sponsored products. It is no doubt that you should delete it
from your computer as soon as possible.
How does Atomic Savings affect the system security?
The ads of stuff sent out from Atomic
Savings is not the only change that will happen after you download it onto the computer,
other unexpected changes appear as well. With this adware on, there is higher
possibility that your computer may be getting invaded by other malware when you
surf on suspicious websites. Certain kinds of malware are able to invade a
computer by attacking the already compromised system and vulnerability of it.
Therefore, leaving Atomic Savings staying in the system gives you more than
just the add bomb, the potential threats and danger as well.
How to get rid of adware Atomic Savings?
Here are two parts of removing process for
you to carry out: Manual Removal Part and Automatic Removal Part. And make sure
you apply both of them just to get rid of this adware completely.
Manual Removal Instructions
1. End related programs from Task Manger.
Press “Ctrl + Shift + Esc” at the same time
to open Task Manager, select Processed, find Atomic Savings extensions, then click
End process.
2. Delete Atomic Savings extension from
Control Panel.
Click Start menu, choose Control Panel and select Uninstall a program. Find Atomic Savings extension and remove it.
3. Remove Atomic Savings extensions from
browsers.
Internet Explore:
1. Start IE and select Tools on the right
corner, choose Manage add-ons.
2. Select Toolbars and Extensions then find
and remove Atomic Savings .
From Google Chrome:
1. Start Google Chrome and select Customize
and control Google Chrome on the right corner, choose More tools.
2. Select Extensions, find Atomic Savings extensions and click the trash bin icon to delete it.
From Mozilla Firefox:
1. Start Mozilla Firefox and choose Tools also
at the right corner, click Manage add-ons and then Extensions.
2. Disable related extension.
4. Clear browser history
5. Delete possible modified Registry entry.
From
Internet Explore:
1. Click
Tools then Internet option.
2.
Find General and select Delete.
3. Select “Temporary Internet files and
website files” “Cookies and website date” “History”, then click Delete.
From Google Chrome:
1. Click Customize and control Google
Chrome then More tools.
2. Select “
From Mozilla Firefox:
1. Click Tools, then Option.
2. Find Privacy, and select “Clear recent
history” and “remove individual cookies”. Then click OK.
5. Delete possible modified Registry entry.
HKEY_CURRENT_USER\Software\Microsoft\Windows\CurrentVersion\Run
HKEY_CURRENT_USER\Software\Microsoft\Windows\CurrentVersion\InternetSettings
“CertificateRevocation” = 0
HKEY_CURRENT_USER\Software\Microsoft\Windows\CurrentVersion\Policies\System
“DisableTaskMgr” = 1
HKEY_LOCAL_MACHINE\SOFTWARE\Microsoft\Windows\CurrentVersion\policies\system
“DisableTaskMgr” = 1
6: Download RegCure Pro for better
optimization for your computer.
1: Click below to download RegCure Pro
immediately.

2: Click "Yes", and allow the computer to download RegCure Pro.
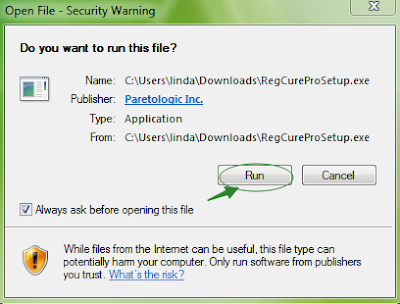
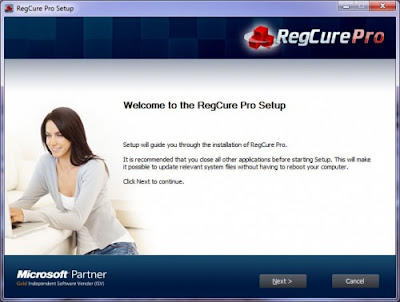
3: After successfully download the installer, double click the icon to run RegCure Pro. Choose “Next” and go on installing.
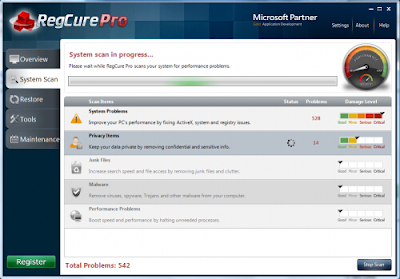
4: Once you finish the installation
process, click “System Scan” to start the scanning process.
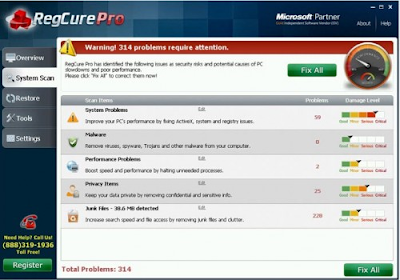
5: After the RegCure Pro done scanning all
the files, click “Fix All” to complete the whole scanning process.
Automatical Removal Instructions
Step 1: Click the icon below to download
SpyHunter.

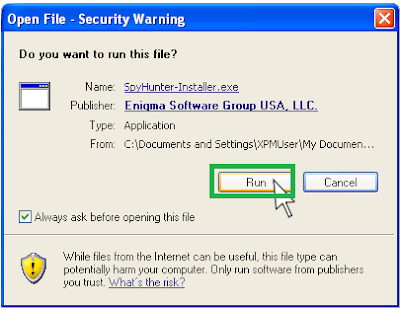
Step 2: Click “Run” to download SpyHunter
installer.
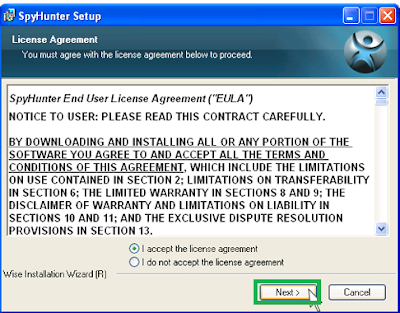
Step 3: After finish downloading it,
start installing SpyHunter. Click “Next ” continue installation.
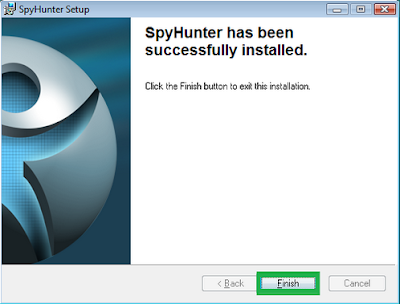
Step 4: Click “Finish” to complete
installation.
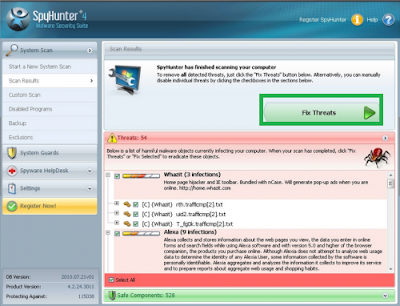
Step 5: Click “Malware Scan”.
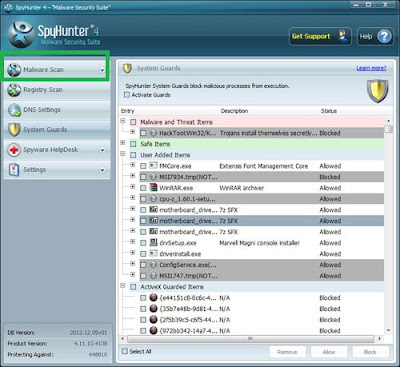
Step 6: Click “Fix Threats”.
Click here and download SpyHunter quick and safe

No comments:
Post a Comment