
How to Remove Ads by Lolliscan from Computer Completely and Effectively with Simple Steps?
Description of Ads by Lolliscan
Ads by Lolliscan is testified an adware that comes back and brings Internet users a lot recently. This adware holds features of most adware but differs a little bit in the way of removing it. In fact, there are some adware that don’t have the ability to self-duplicate yet some do. Ads by Lolliscan is categorized the latter. Therefore, if you can’t remove the original program together with all duplications, the infection won’t stop.
What will Lolliscan do to harm your PC?
First of all, it changes your default browser setting. And no matter how many times and how hard you try to correct that, it always goes back until you delete it entirely.
Second of all, it redirects your original start-page and replaces it with its own website page which is at some point a potential threat since it is also attached with malware of other kinds.
Third of all, it creates numerous online ads and these ads appear randomly and constantly and stops you from what you are doing.
Fourth of all, it is capable of stealing users’ personal information when they browser on the Internet.
How does Ads by Lolliscan get into your computer?
- It is bundled with software on wicked website. When you download the software, Ads by Lolliscan disguises itself as an extension and sneaks into together with it.
- It is attached on advertisements.
- It goes through weak hole (or vulnerability) of your old version software.
- Its website address will appear on spam emails sent out by the Ads by Lolliscan developer.
Ways to get rid of Ads by Lolliscan
Use the instructions below and remove Ads by Lolliscan without any delay.
There are two methods and one video for you for your reference on how to delete this nasty adware on your own.
Manual Removal Instructions:
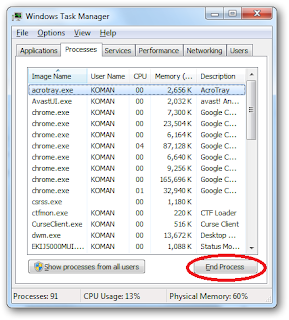
1. End related programs from Task Manger.
Press “Ctrl + Shift + Esc” at the same time
to open Task Manager, select Processed, find Lolliscan, then click End process.
2. Delete Ads by Lolliscan extension from
Control Panel.
Click Start menu, choose Control Panel and select Uninstall a program. Find Ads by Lolliscan extension and remove it. 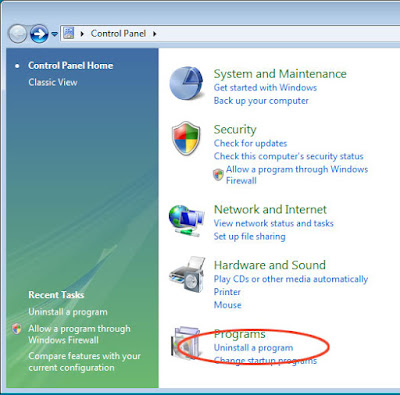
3. Remove Ads by Lolliscan extensions from
browsers.
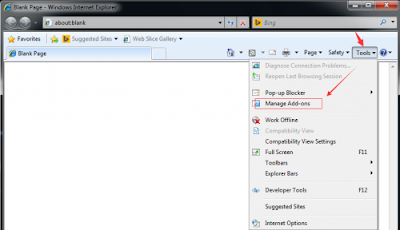
Internet Explore:
Start IE and select Tools on the right
corner, choose Manage add-ons.
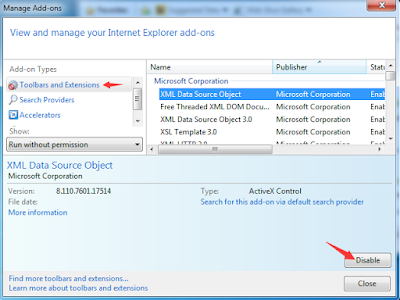
Select Toolbars and Extensions then find
and remove Ads by Lolliscan.
From Google Chrome:
Start Google Chrome and select Customize
and control Google Chrome on the right corner, choose More tools.
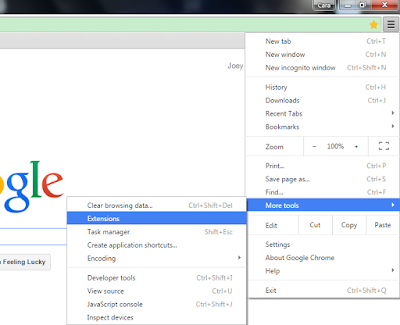
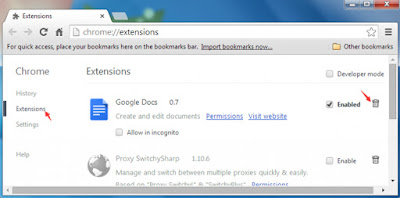
Select Extensions, find Ads by Lolliscan extensions and click the trash bin icon to delete it.
From Mozilla Firefox:
Start Mozilla Firefox and choose Tools also
at the right corner, click Manage add-ons and then Extensions.
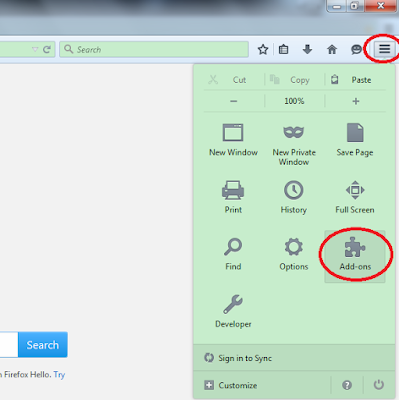
Disable related extension.

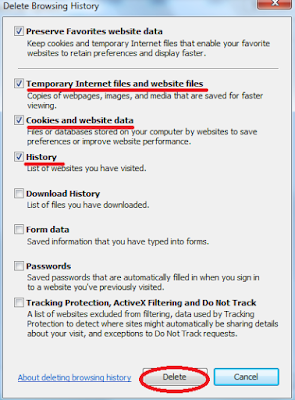
4. Clear browser history
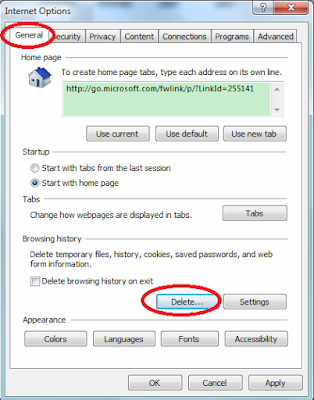
From Internet Explore:
1. Click
Tools then Internet option.
2.
Find General and select Delete.
3. Select “Temporary Internet files and
website files” “Cookies and website date” “History”, then click Delete.
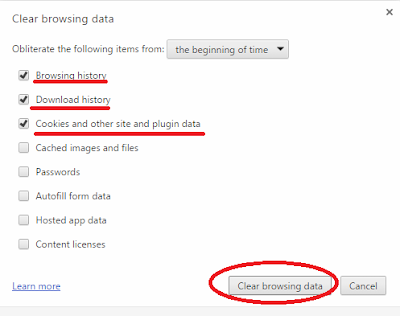
From Google Chrome:
1. Click Customize and control Google
Chrome then More tools.
2. Select “
From Mozilla Firefox:
1. Click Tools, then Option.
2. Find Privacy, and select “Clear recent
history” and “remove individual cookies”. Then click OK.

5. Restart browsers to take effect.
6: Download RegCure Pro for better
optimization for your computer.
1: Click below to download RegCure Pro
immediately.

2: Click "Yes", and allow the computer to download RegCure Pro.
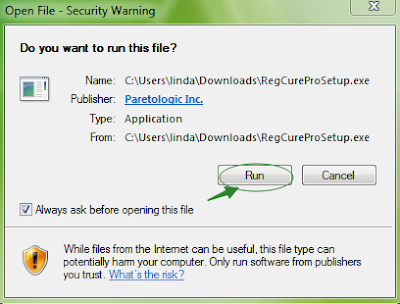
3: After successfully download the installer, double click the icon to run RegCure Pro. Choose “Next” and go on installing.
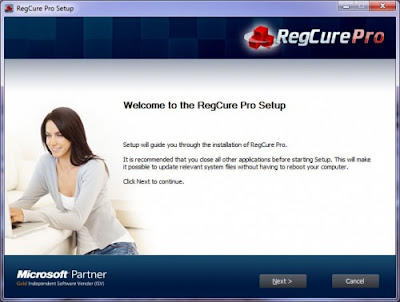
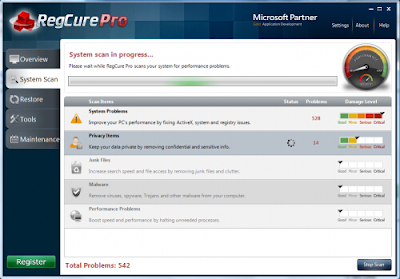
4: Once you finish the installation
process, click “System Scan” to start the scanning process.
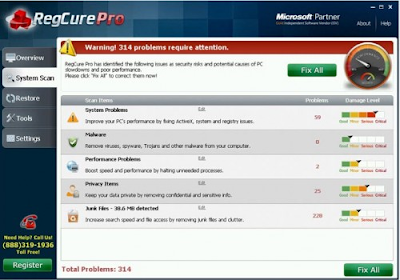
5: After the RegCure Pro done scanning all
the files, click “Fix All” to complete the whole scanning process.
Automatical Removal Instructions:
Step 1: Click the icon below to download
SpyHunter.

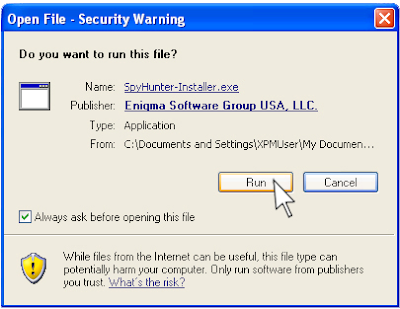
Step 2: Click “Run” to download SpyHunter
installer.
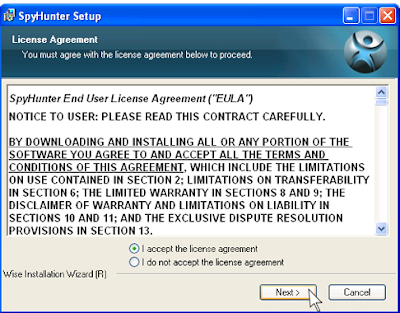
Step 3: After finish downloading it,
start installing SpyHunter. Click “Next ” continue installation.
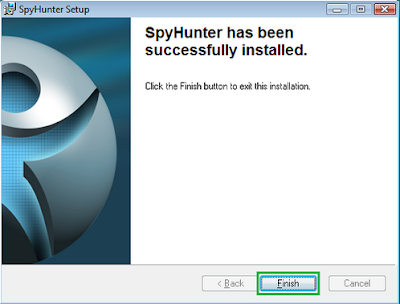
Step 4: Click “Finish” to complete
installation.
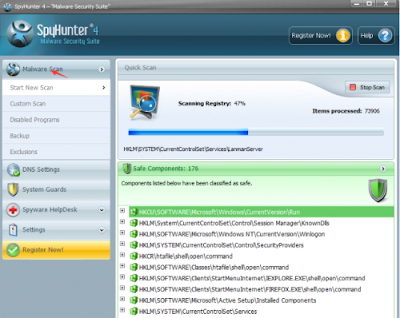
Step 5: Click “Malware Scan”.
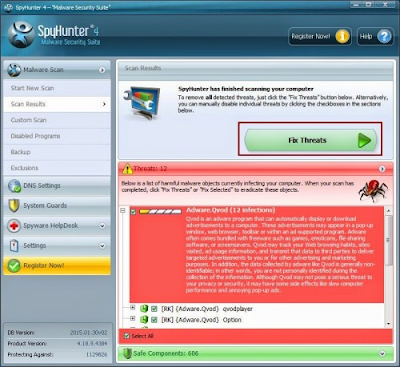
Step 6: Click “Fix Threats”.
Even though you have already had one anti-virus on your computer, you can still download SpyHunter, it is compatible with most brand name anti-virus, like Malwarebytes and Norton. Besides, having more than one anti-virus on to strengthen your computer safety is actually a good thing.
No comments:
Post a Comment